
With the shocking announcement of the AES+, Neo Geo AES original hardware resurfaced back to all retro gamers’ attention. Now you feel like you can own an original hardware, but if you already have an AES and using analog video output, then you do not need to get a new one. This guide will help you raise your AES to top level and never look back.
Complete video tutorial
Watch the entire video first then refer back to this article for further guidance.
Recapping guide
It is always a must that you read the recapping guide (and watch its video) so you get all the necessary information to proceed. You can check it here:
https://thundertronics.net/blog/recapping-electronics-ultimate-guide/
Tools, capacitor kit and other kits used
I used the soldering iron, desoldering gun, and solder wick to perform this job.
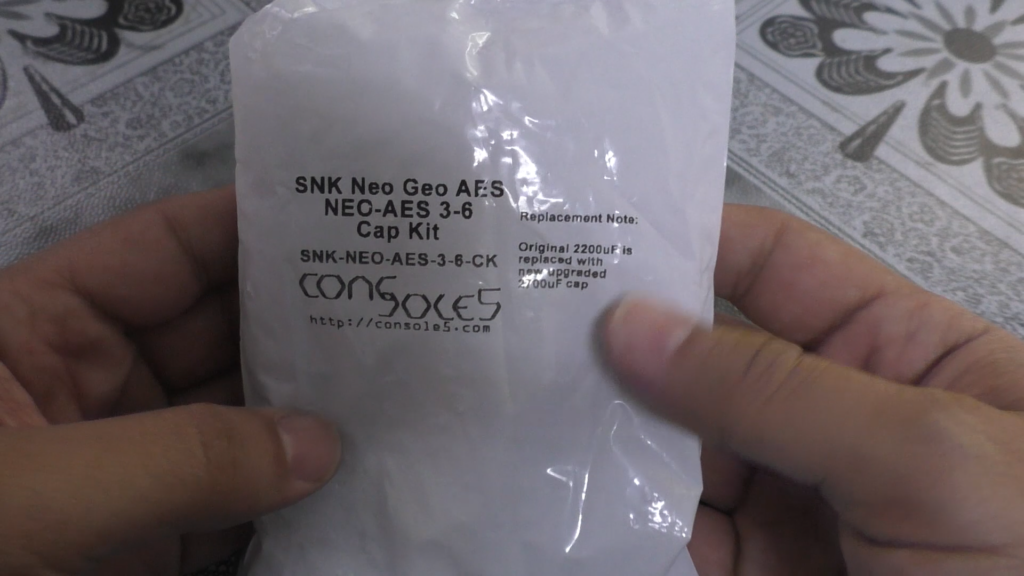
I used this cap kit: https://console5.com/store/snk-neo-geo-aes-neo-aes-3-6-cap-kit.html
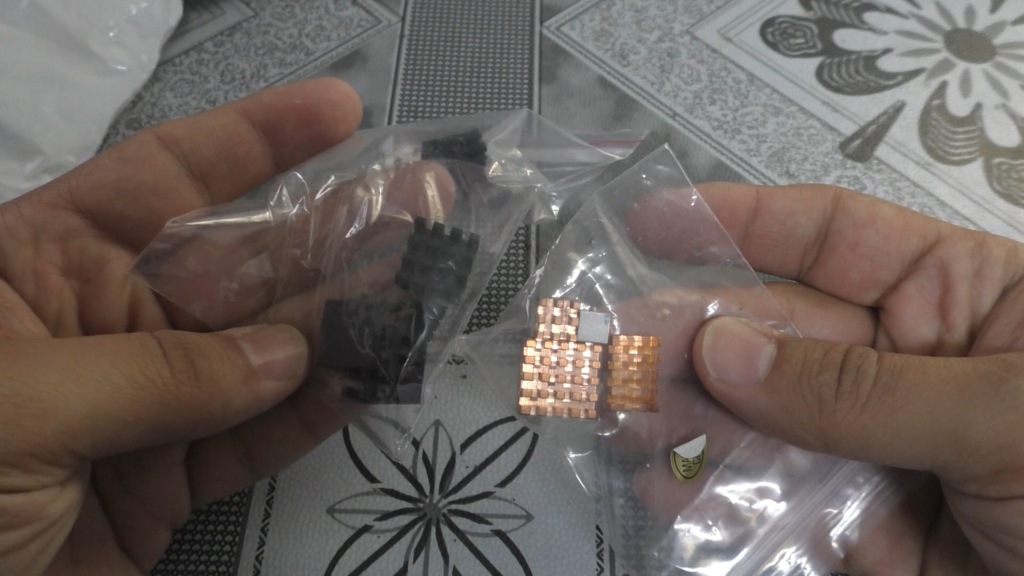
I also recommend getting heatsinks to install on main chips, these can be purchased locally cheaply.
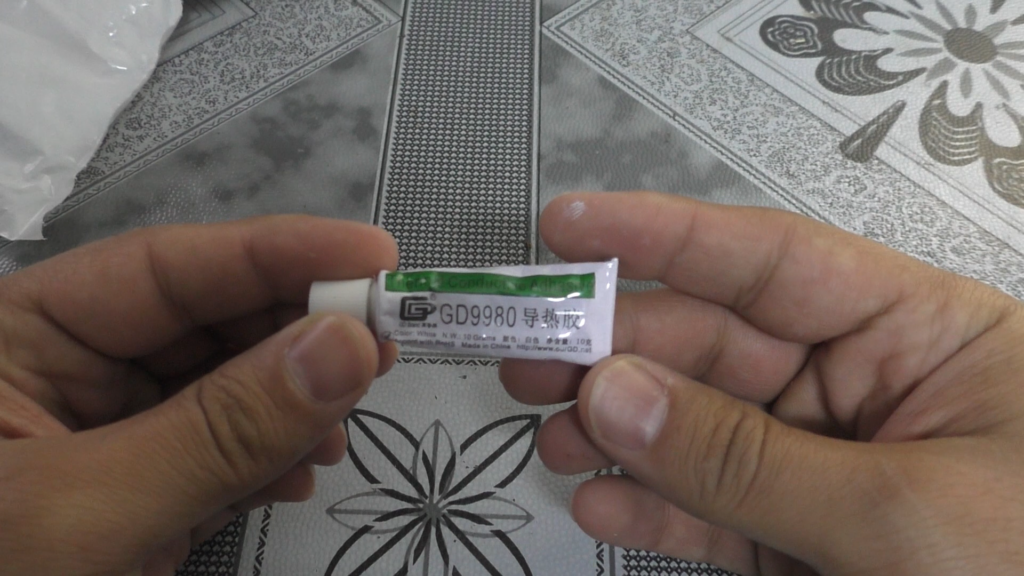
With some heatsinks which do not have an adhesive tape under them, you would need a thermal glue like this one: https://console5.com/store/thermally-conductive-heat-sink-adhesive-glue-gd9980-10-grams-10g.html
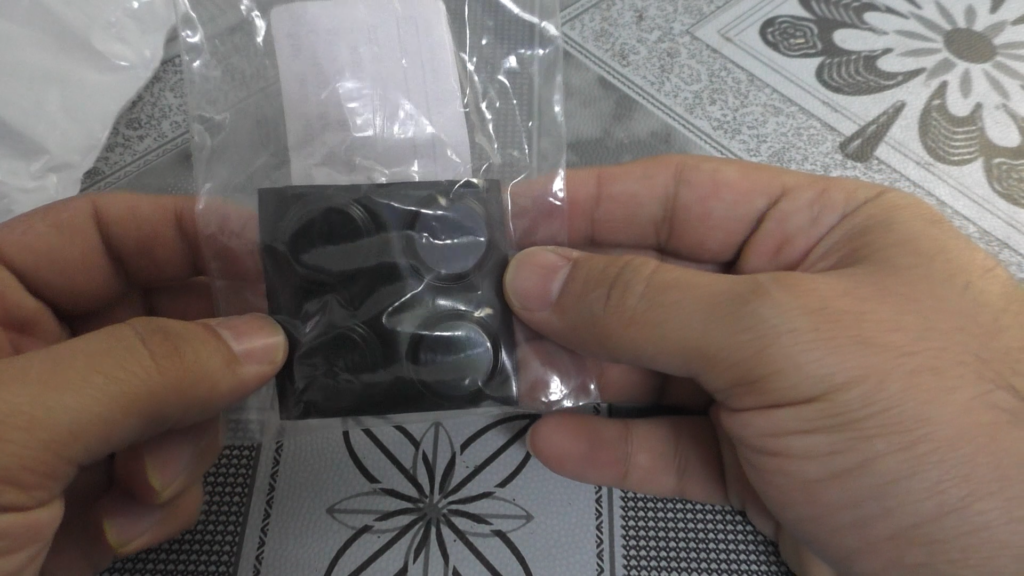
Finally, get these rubber feet: https://console5.com/store/snk-neo-geo-aes-controller-self-adhesive-ru
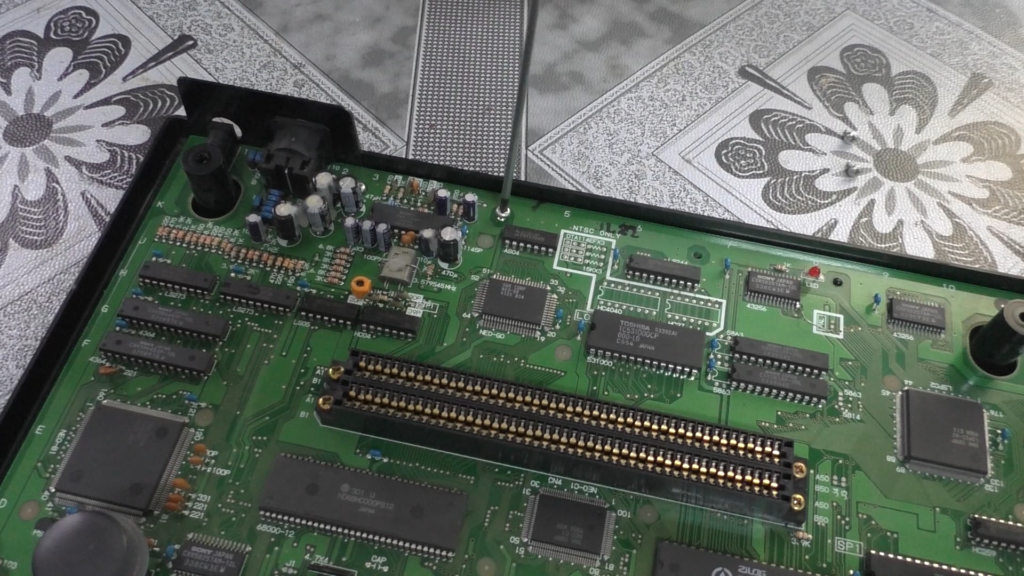
Disassembly
Disassembling it is not hard, just normal screws then top shell can be removed. Then proceed to disconnect all other internal screws and take the board out.
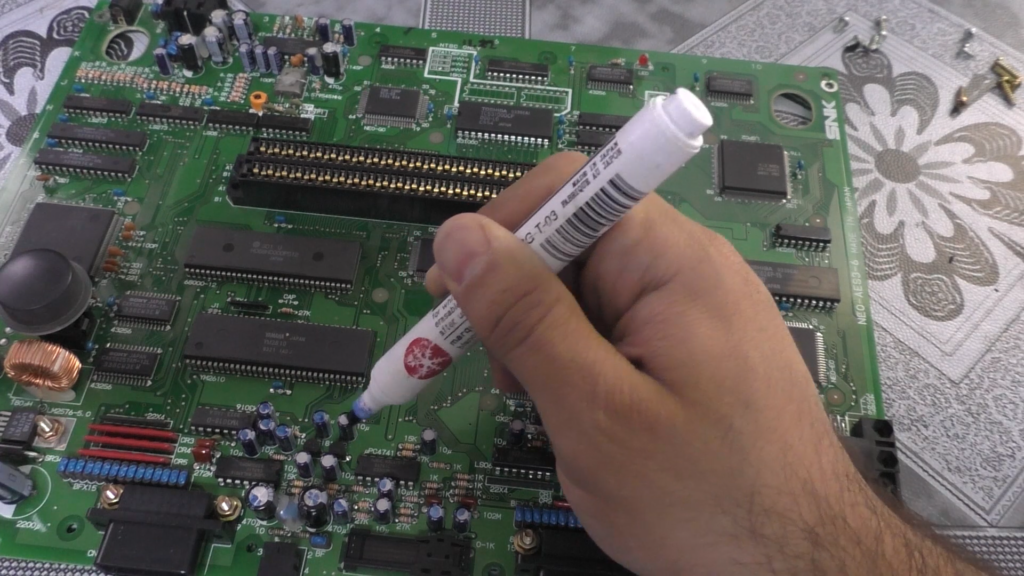
Old capacitors marking
It is a nice practice to label the old capacitors by a marker so you keep following up nicely. This is essential step to prevent any mistake or negligence.
Recapping the entire board
Recapping is typical, just through hole capacitors everywhere and done mainly via desoldering gun, nothing special here so I did not record it in the video.
Stereo channels reversal
The AES in some of its versions had its stereo sound channels reversed; left is right and right is left.
To correct that I needed to disconnect the points shown in picture below and exchange their places, those are 1k Ohm resistors so you can completely desolder them and solder new ones in the correct orientation like I did here.
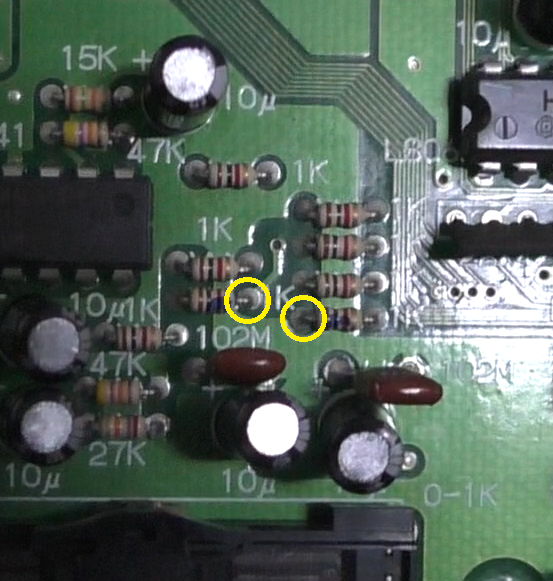
You can verify the before and after using 240p test suite easily.
RGB video level adjustment
The AES also has the issue of the RGB level being not on the optimal range which results in dimmer and not vibrant colors. The analog RGB video generation circuit is not typical as it is based on resistors feeding into the actual video encoder chip. If the input RGB video level is dim then the output will also be dim.
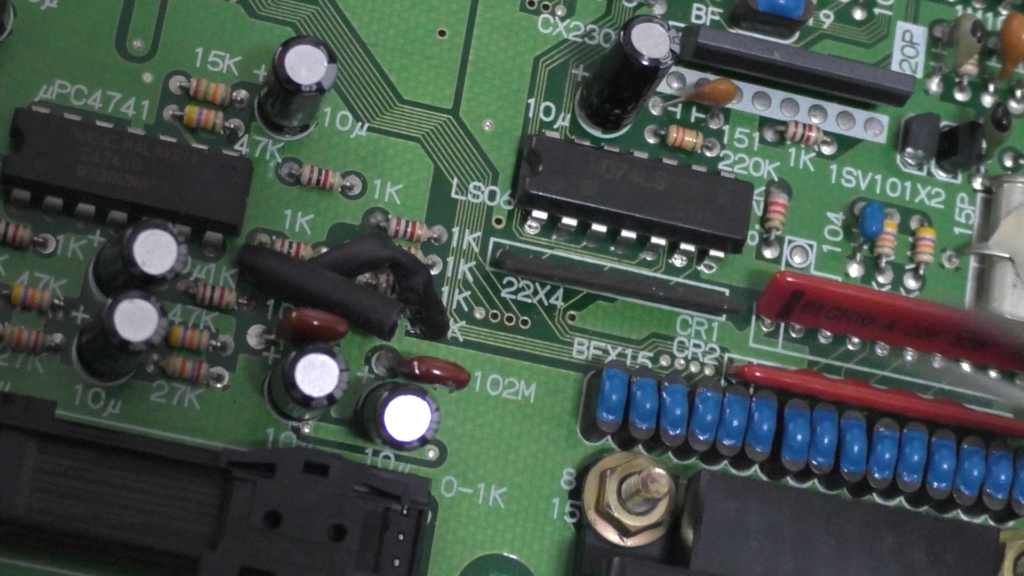
Correcting it is also not hard, it is via changing the 3 resistors with values of 6.8k Ohm shown in image below.
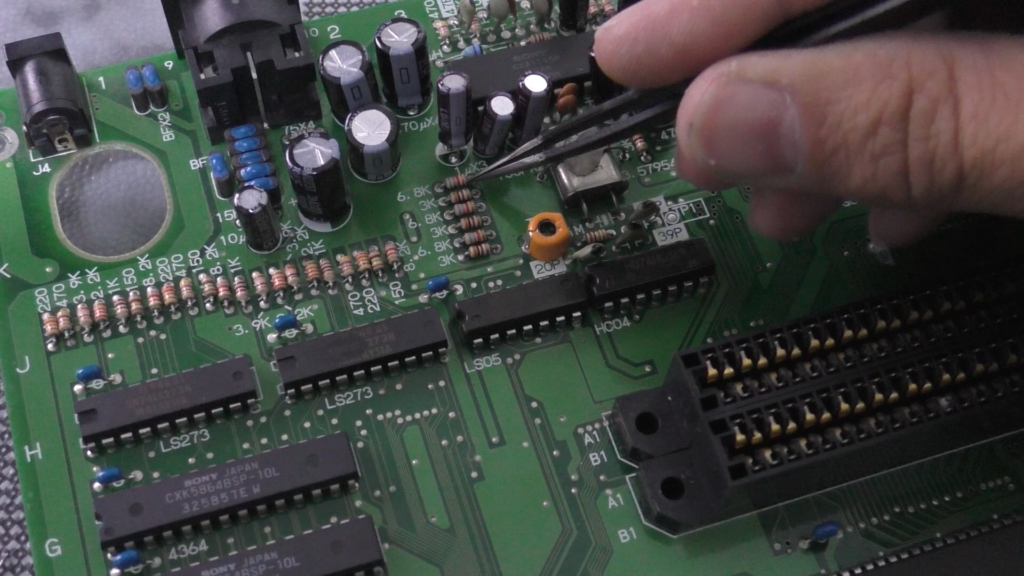
Those are the ones for input RGB video, so instead of 6.8k Ohm we need to make them lower.
My 3-6 revision has the best output value when these are 5.2k Ohm instead of the original 6.8k Ohm, you must check the correct value for your own revision as they differ which can be found online easily. So either I completely desolder and replace the resistors with the ones with correct value, or solder another resistor in parallel with the 6.8k Ohm one to create the 5.2k Ohm, which is what I did.
I calculated that 22k Ohm in parallel with the original 6.8k Ohm will give roughly 5.2k Ohm, you can use this online calculator to verify.
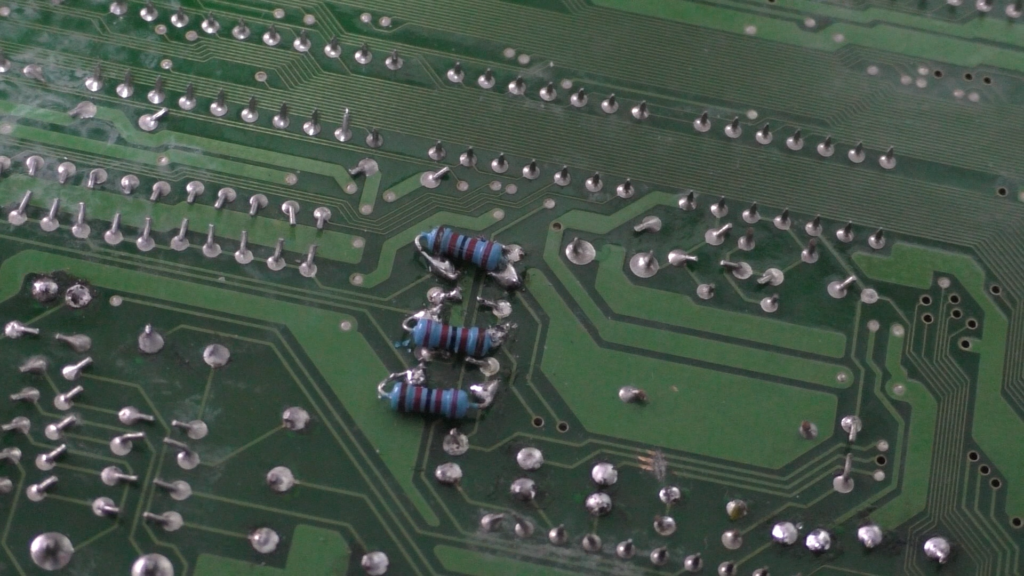
Now with these parallel resistors soldered like you see in above image, and verifying that no short or touching to nearby resistors, we can consider this a big success.
So now we adjusted the video and audio to be perfect, as well as, replacing old capacitors. You can consider this to be the end but I went further.
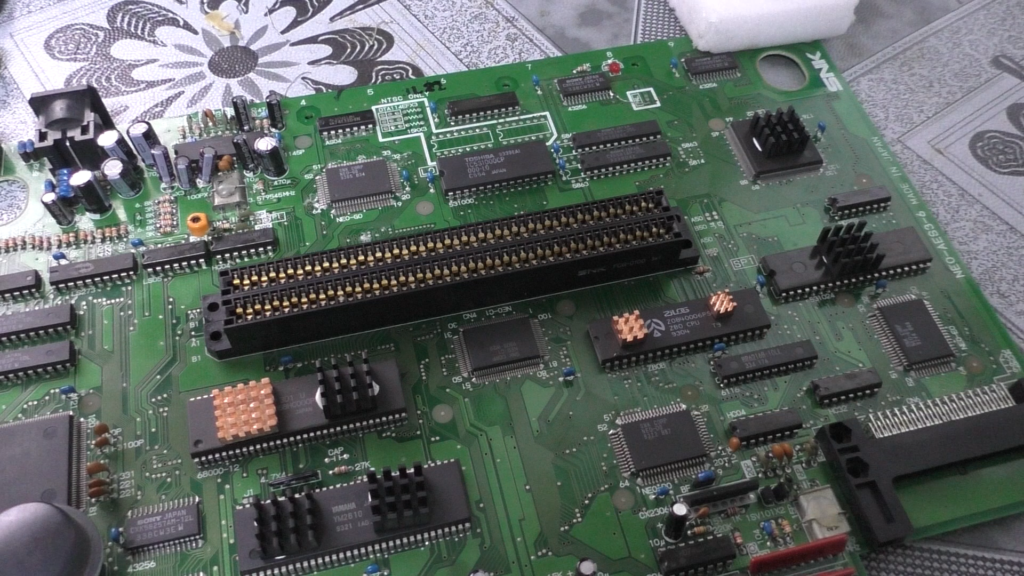
Install heatsinks
The next step for me is to install heatsinks for main chips as seen in the video.
These are not essential by any means but still nice addition for very cheap, which will make the chips run cooler and help extend their life. Can’t go wrong with these.
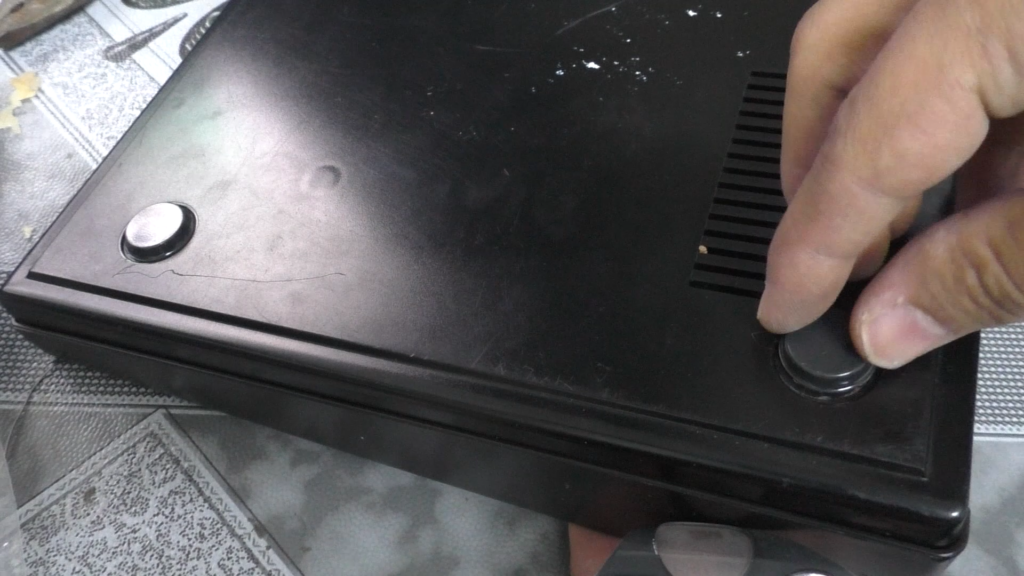
Install rubber feet
The final touch is installing rubber feet to cover the exposed screw hole and to give it a nice look, will help it stand better as well.
Final words
Now you have the ultimate AES which will work like a tiger for decades to come. If you are like me playing on CRT or using analog video output with your scaler, then you do not need to get the new AES+. Instead, keep your original AES and enhance it like I did here but if you are a collector or do not have an AES now, then AES+ is your next purchase for sure.
